
Sabbatical week one is complete, and I’m finally finding some time to blog about it!
I had a pretty active week. It started with hurricane preparations as Dorian burled toward Florida, however in the end we suffered a very light glancing blow. In short, we got off easy.
The Bahamas did not get so lucky, however, and got pretty messed up. I’d love for you to take a moment to donate to their recovery here: https://www.bahamas.com/relief .
Here’s what I’ve been up to outside of hurricanes in week 1!
My First Kegged Beer
Those who know me know that I enjoy brewing beer at home. I love beer for the taste and don’t actually like getting drunk. Ideally, someone will invent some kind of Star Trek-esque Synthohol that has 100% of the flavor and 0% of the side effects. Throw in 0 calories and that would be my dream!
Anywho, I started off brewing beer back in 2014 or 2015. I brewed extract beers which means you buy malt extract and use that as your base. It’s a great way to start brewing!
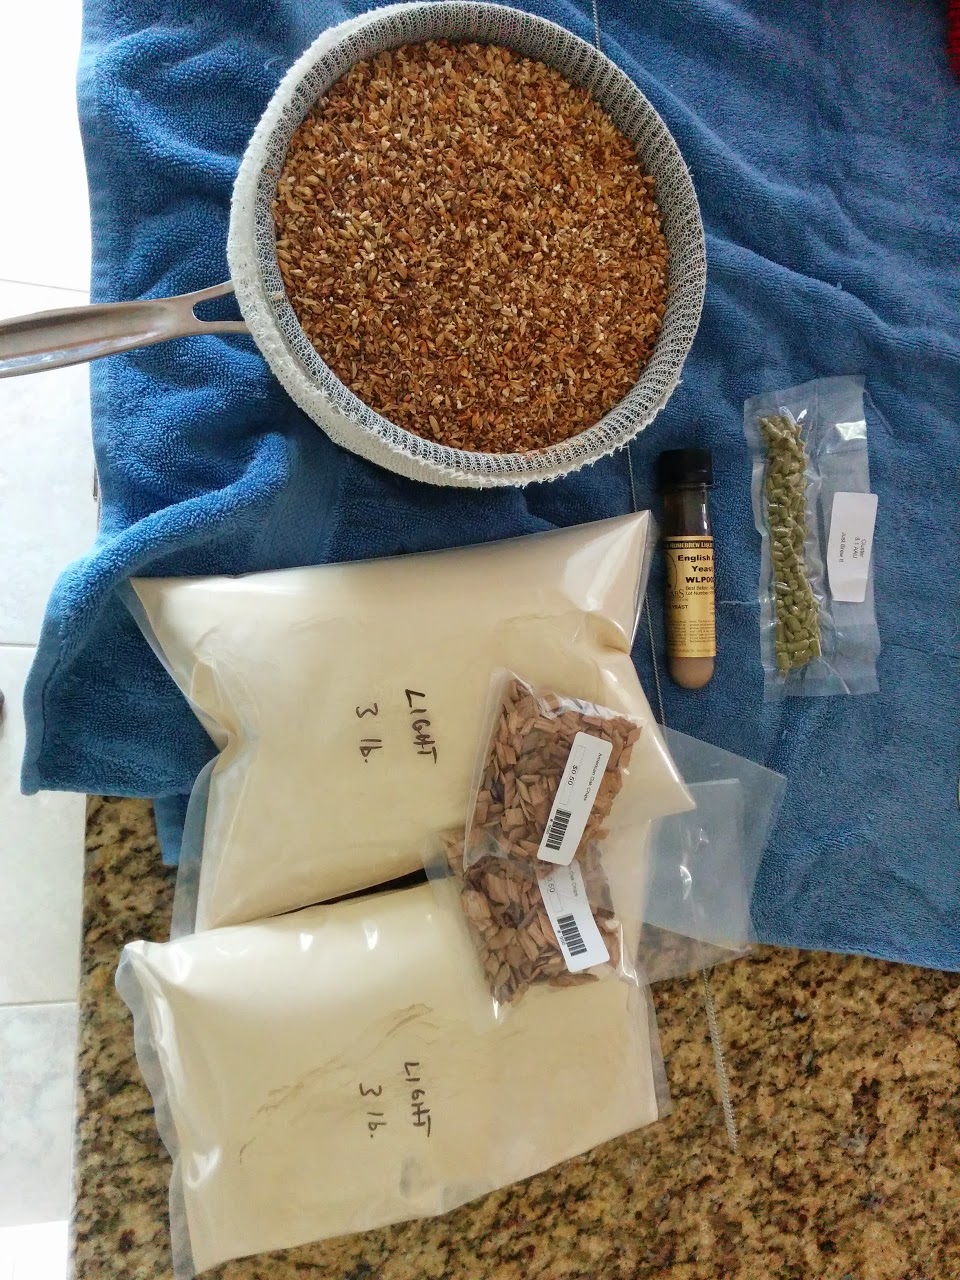
Prepping for an extract brew back in 2015
Eventually I progressed to all-grain beers (where you extract the malt yourself, from grain) and have been doing that since about 2015 or 2016 (I can’t remember). I usually make 5 gallon batches.
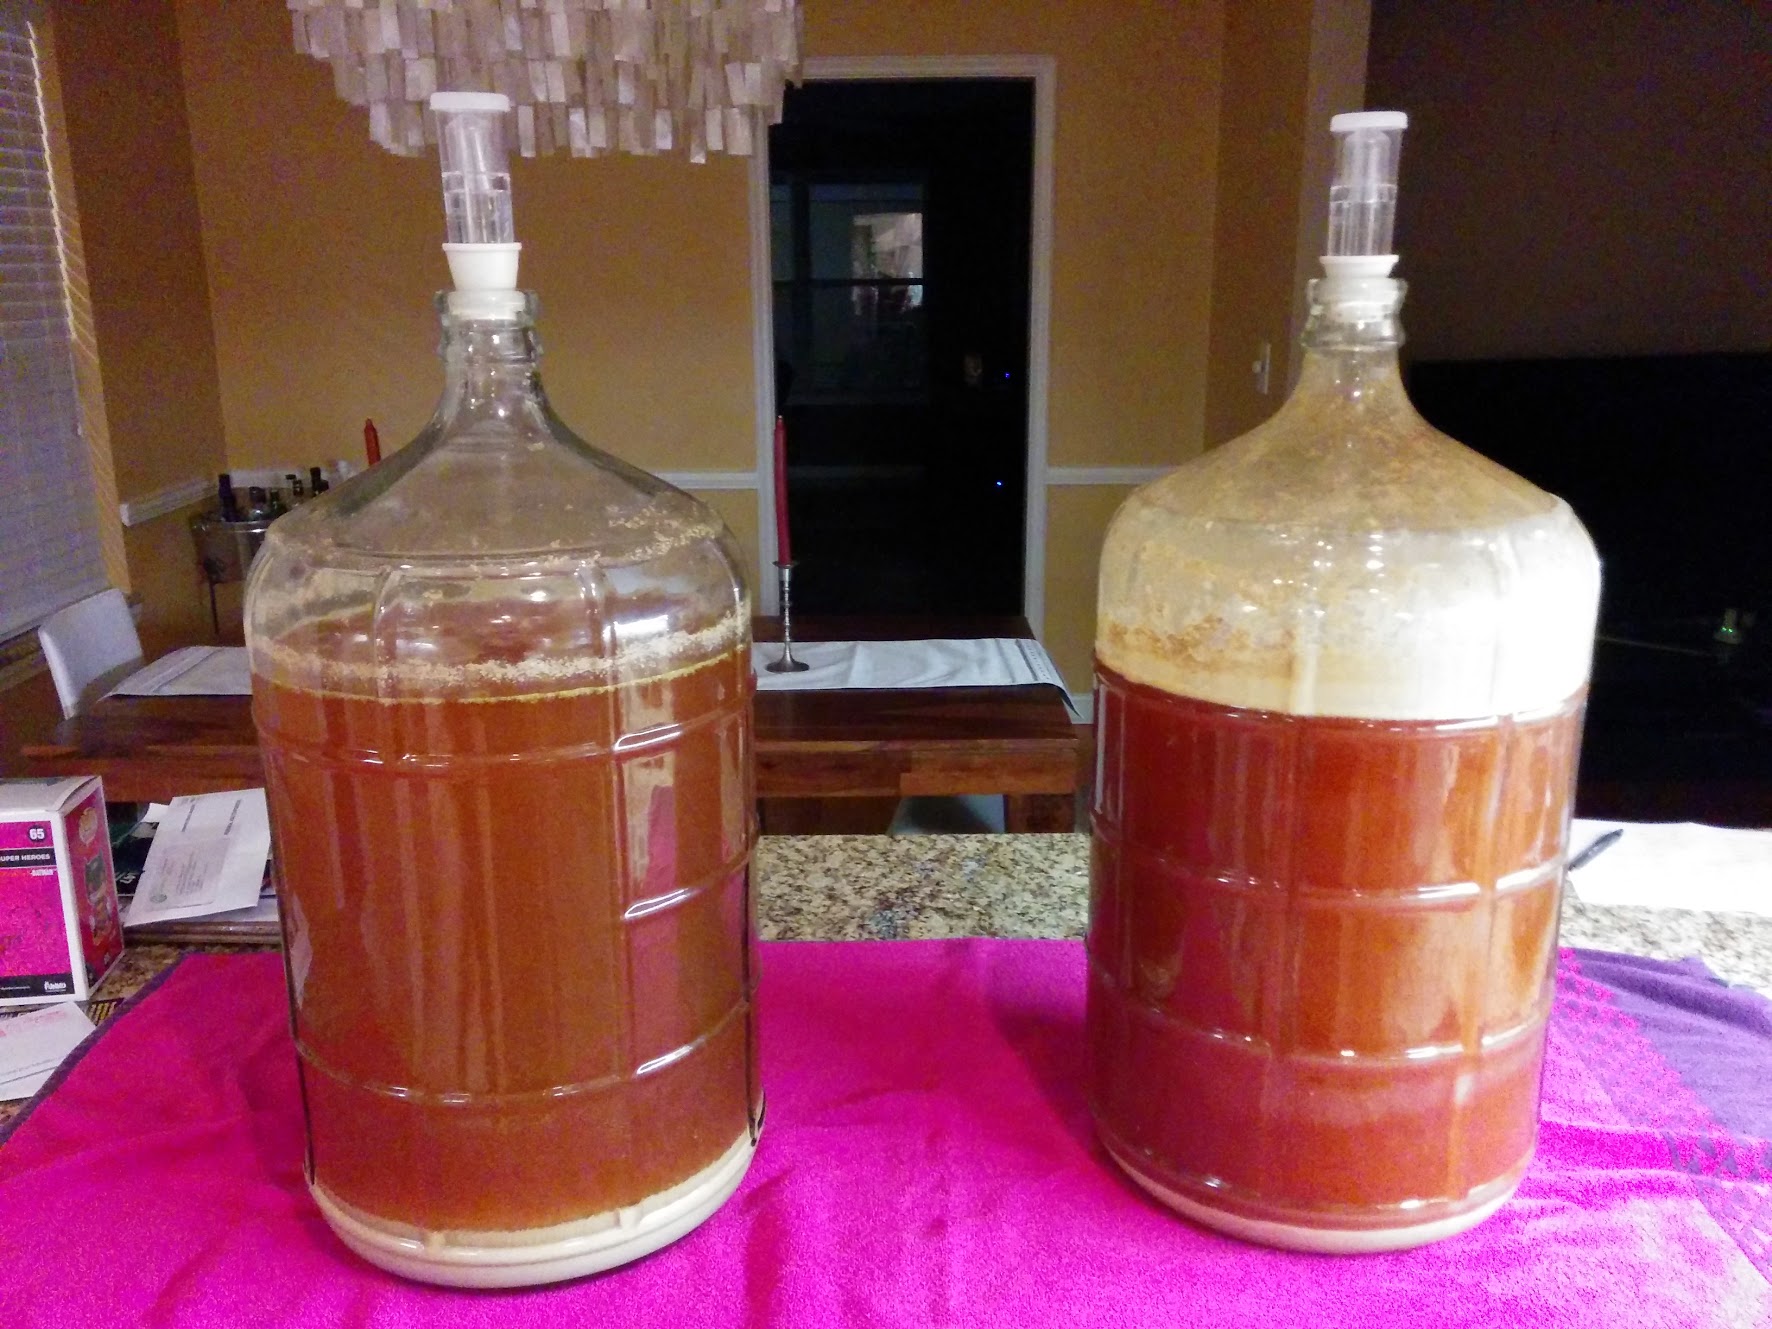
A couple of home brews fermenting in 5 gallon carboys
As many have said before, brewing is 10% fun and 90% cleaning. On that note, one of the worst parts of home brewing is bottling your beer. You must sanitize and clean ~48 bottles (for a 5 gallon batch) + bottlecaps + bottle capper + bottler wand + bottling bucket + tubes, and it sucks.
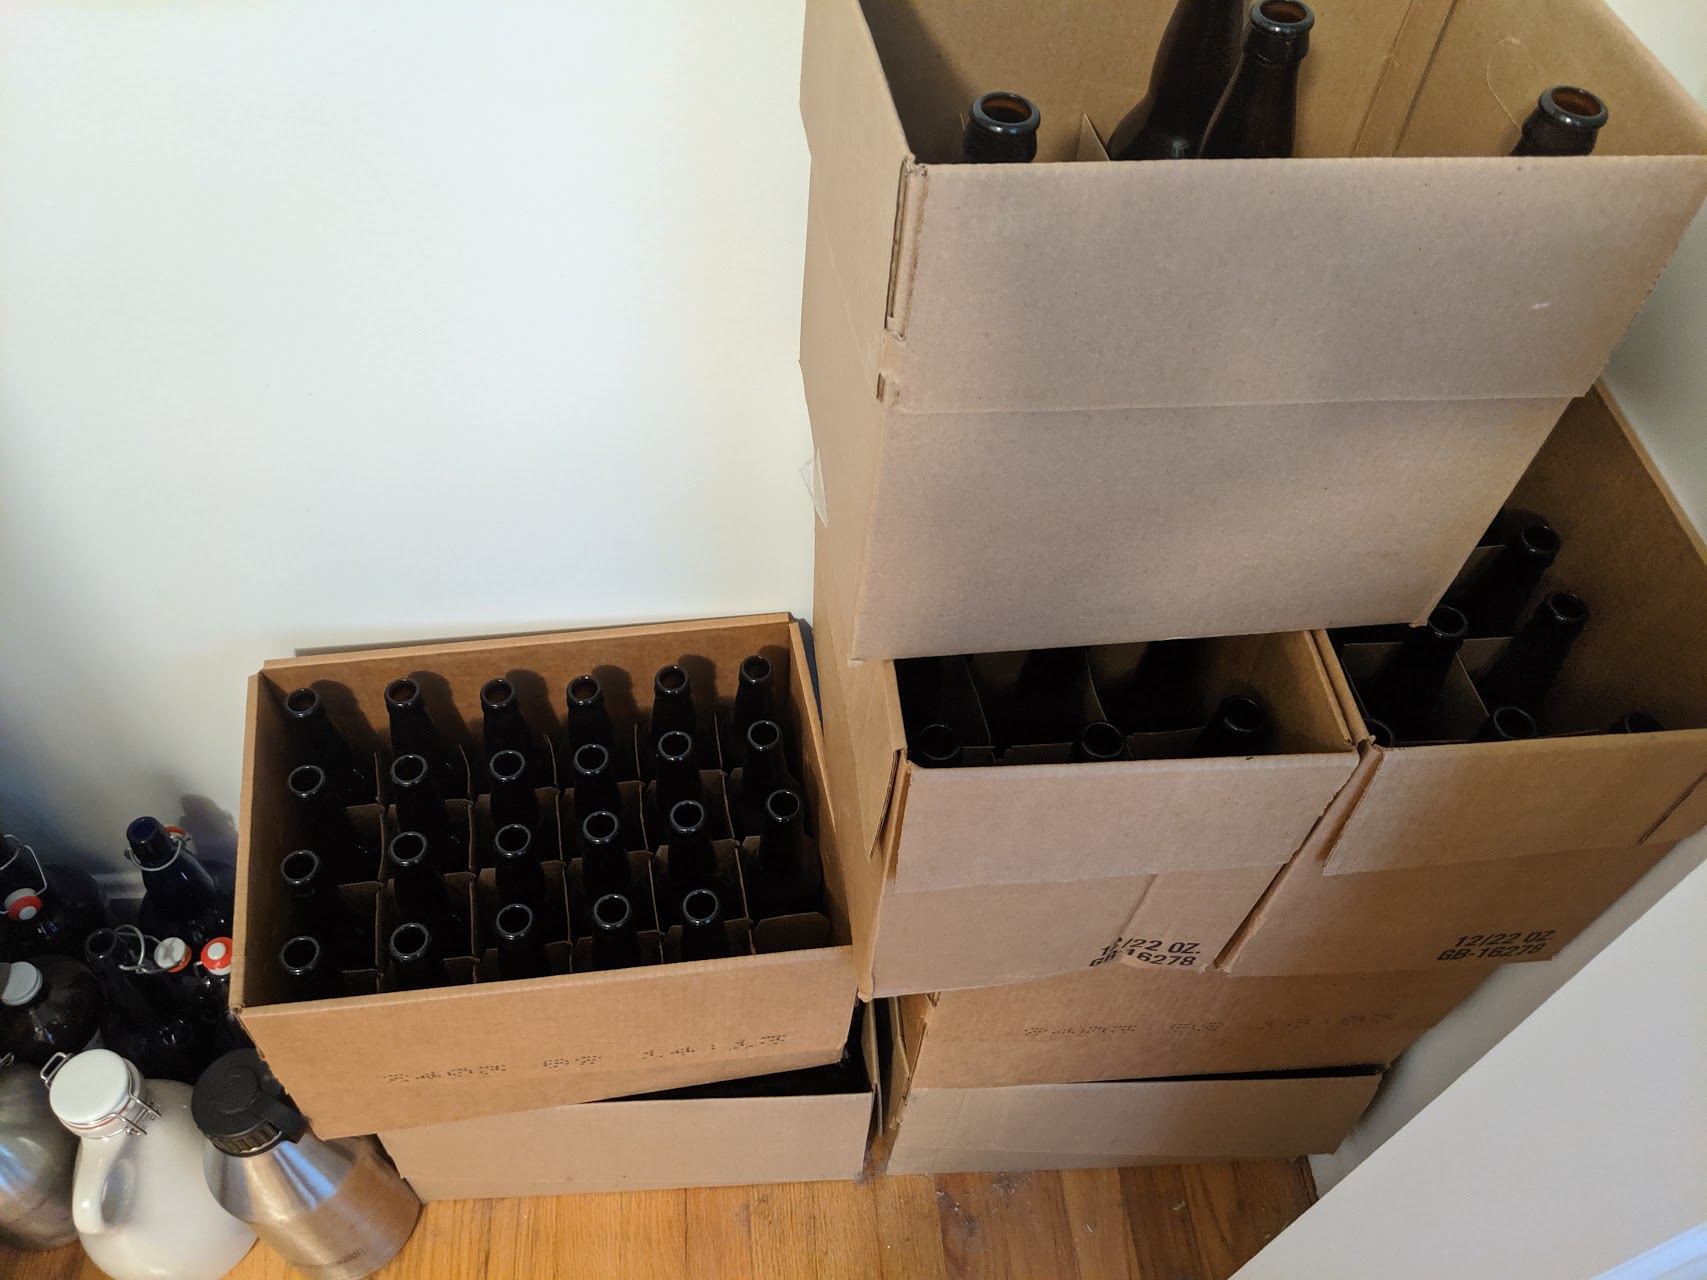
A bunch of bottles that need cleaning
So, I decided to take up kegging during my sabbatical. Step 1 was acquiring a keg and CO2 canister. These are not cheap, but fortunately in my local friend circle a friend named Kevin moved to NYC a few years ago and left his keg stuff in town. I asked him about buying them used and he generously donated them to me (in need of minor repairs, but the price is right) and wouldn’t take any cash. Given that this kind of a setup can run you $250 USD or more, this was a sweet deal. Thanks again, Kevin!
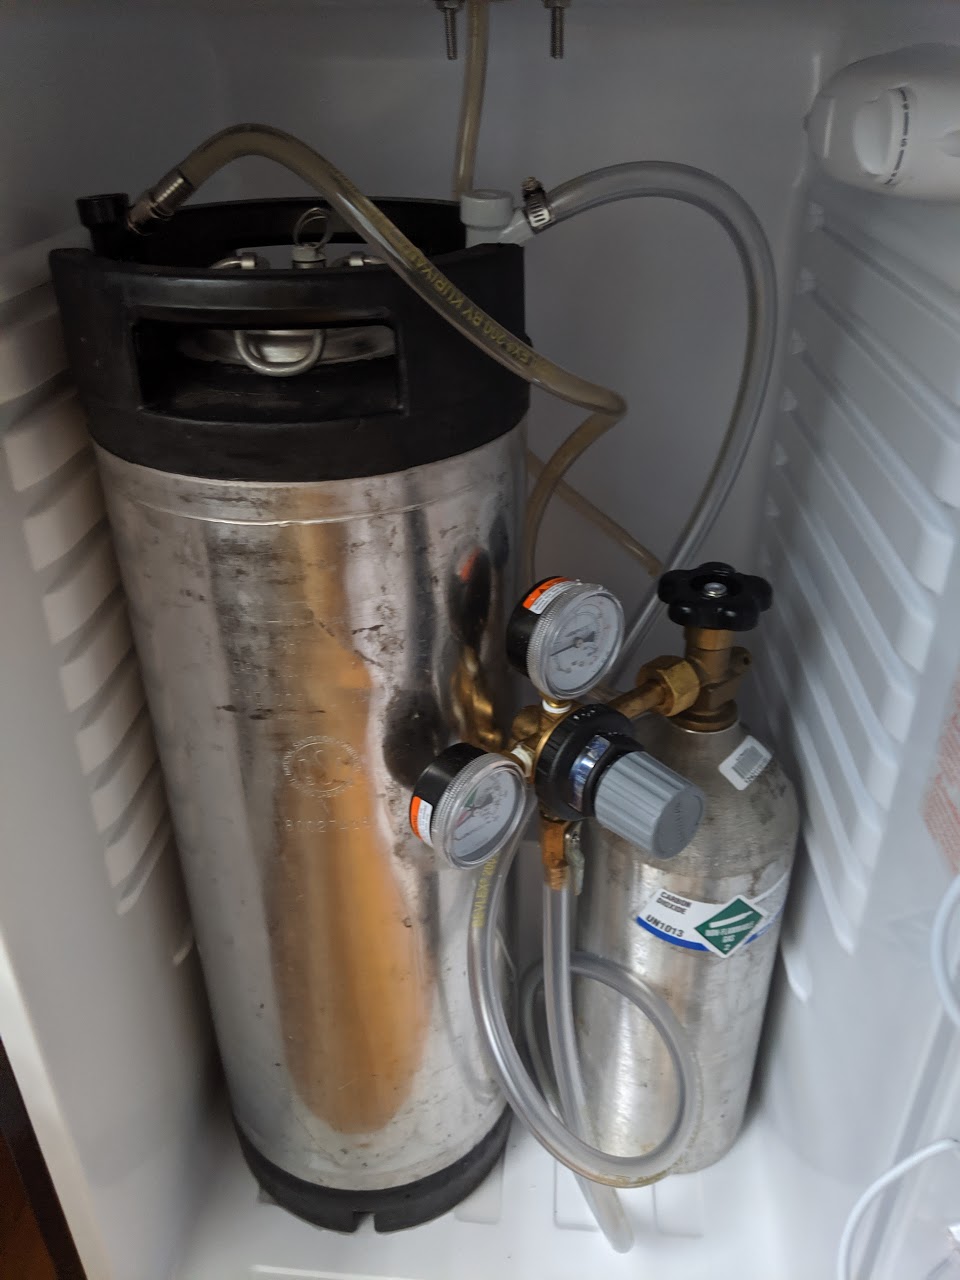
Keg and CO2
Fermentation Chamber and Kegerator
With my keg and CO2 canister in tow, I ordered 2 very cheap and small “Magic Chef” fridges on labor day sale from Home Depot. My plans were to create a temperature controlled fermentation chamber, and a kegerator system. All-in I had now spent $250. Kegerators pre-made are $600+ so a little DIY is totally worth it! The fridges arrived promptly, and I got to work converting them.
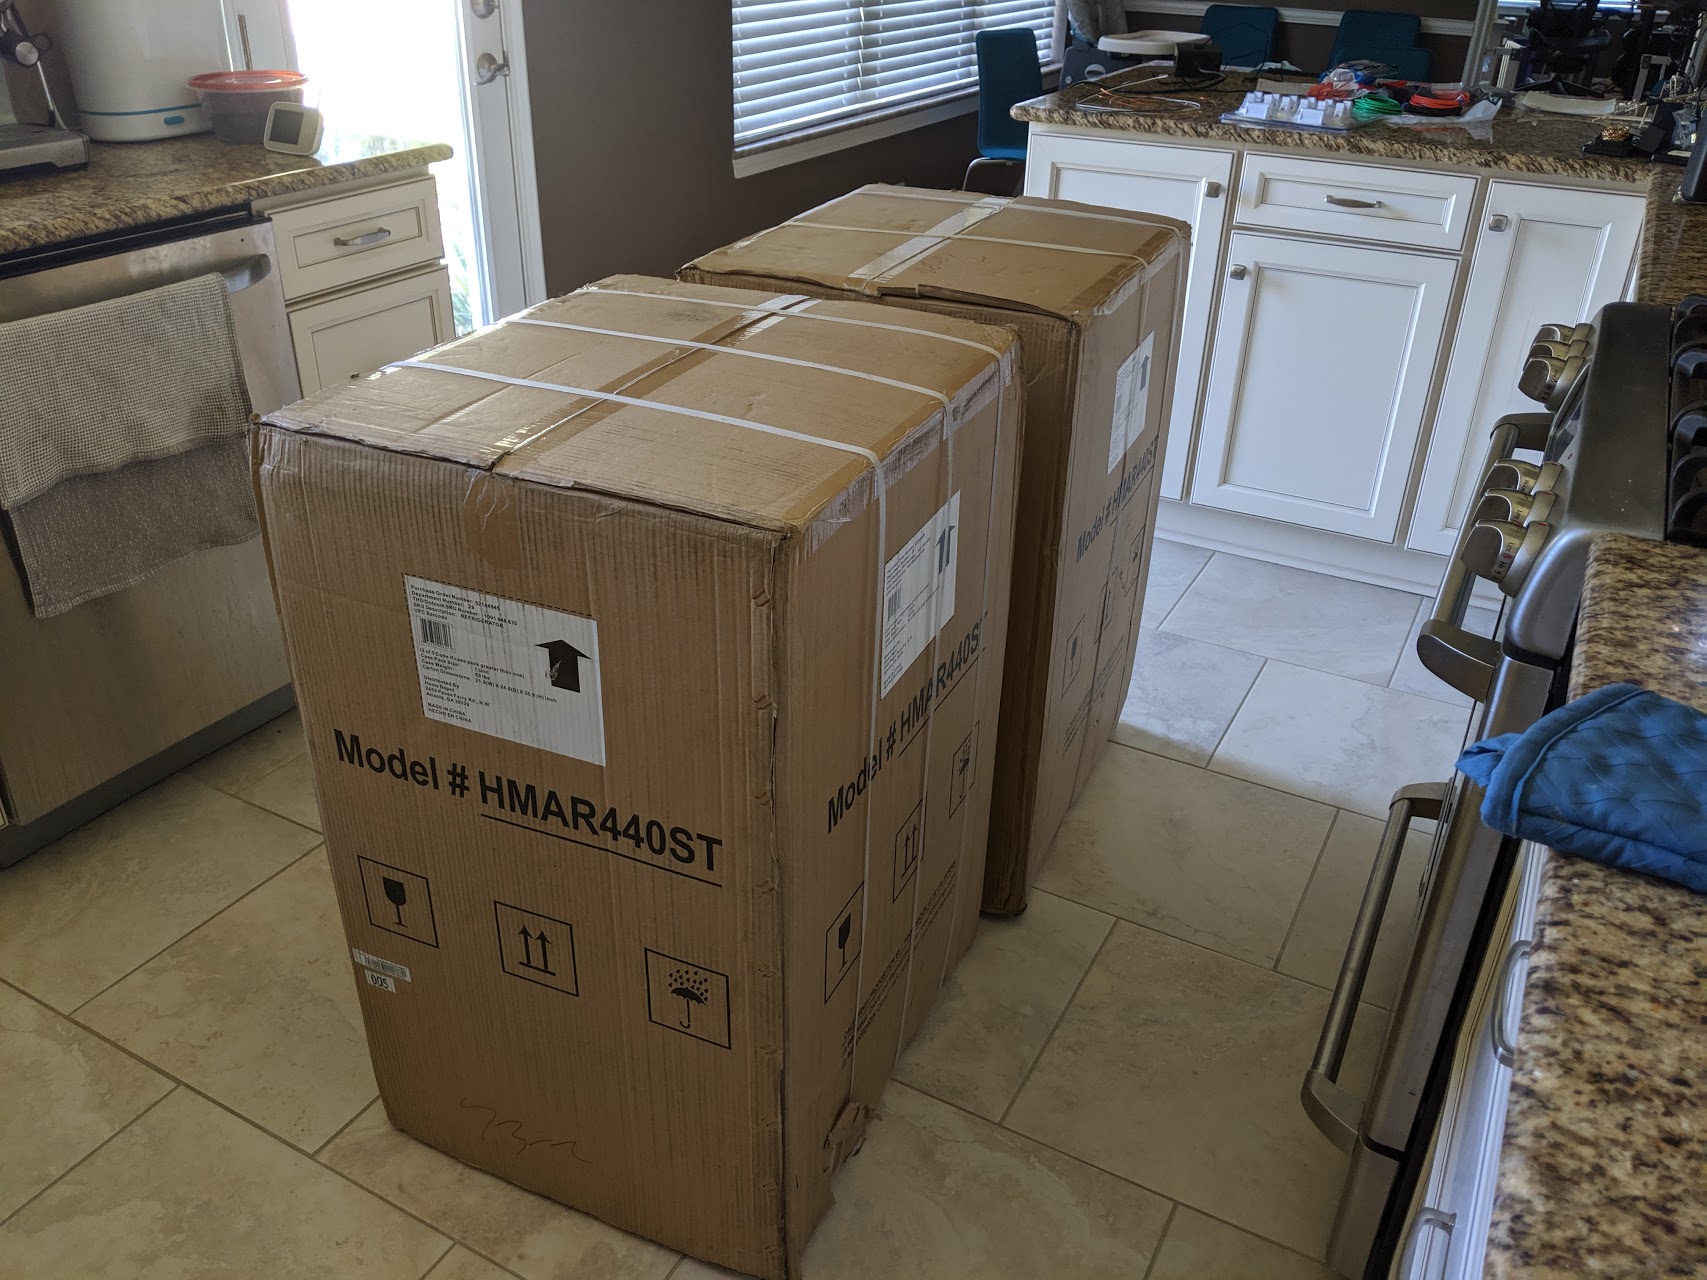
My Labor Day Sale fridges
Fermentation Chamber Controller
It’s important to beer to ferment at specific temperatures. I had previously fermented at room temperature but this contributed to off flavors in my beers.
To make the temperature controlled fermentation chamber, I needed a controller and a temperature probe. Fortunately, Inkbird makes a unit that supplies both for about $15 but needs hard-wiring. I bought that, a few 3 prong plugs, a cheap plastic enclosure, and a dremel tool, and got to work.
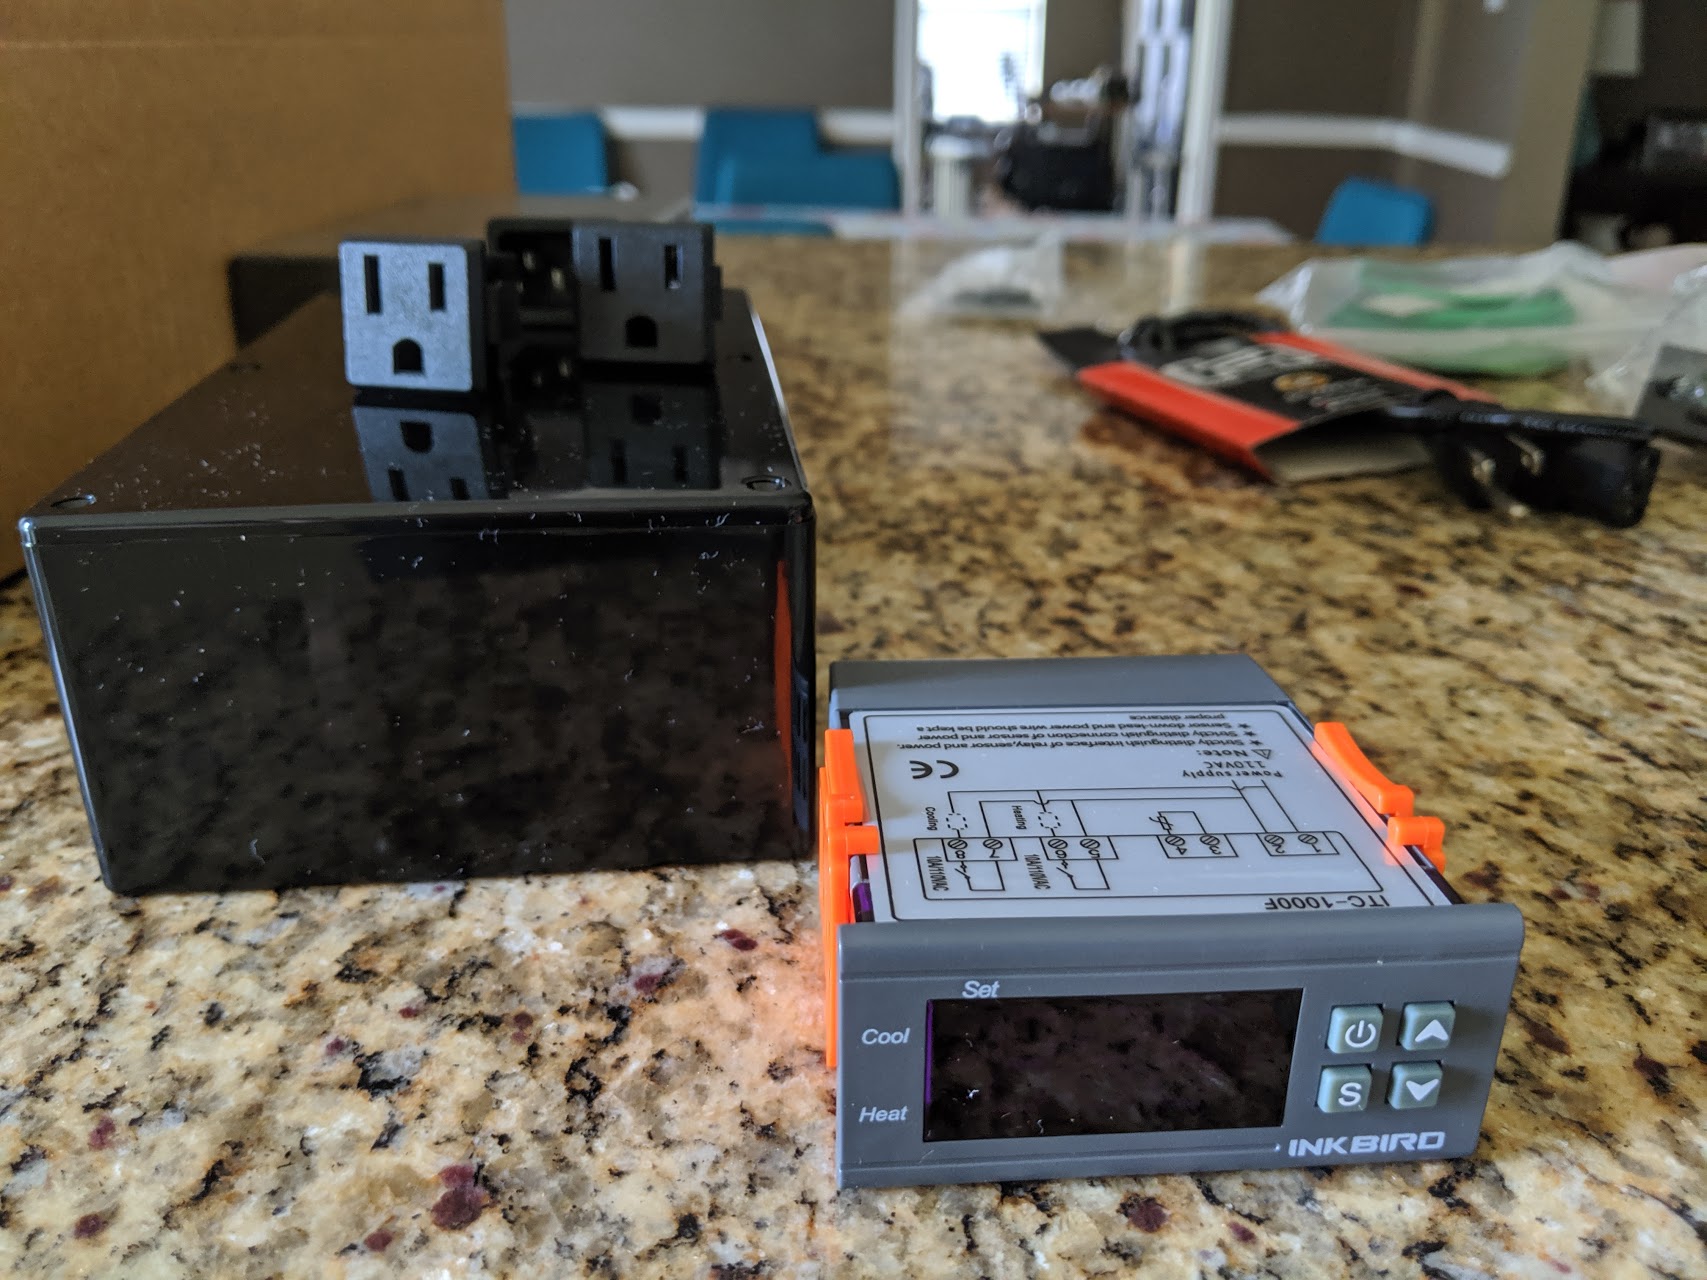
My Inkbird temp controller + misc parts
First I needed to dremel out holes in the plastic for the Inkbird to mount and the various electrical plugs to also mount.
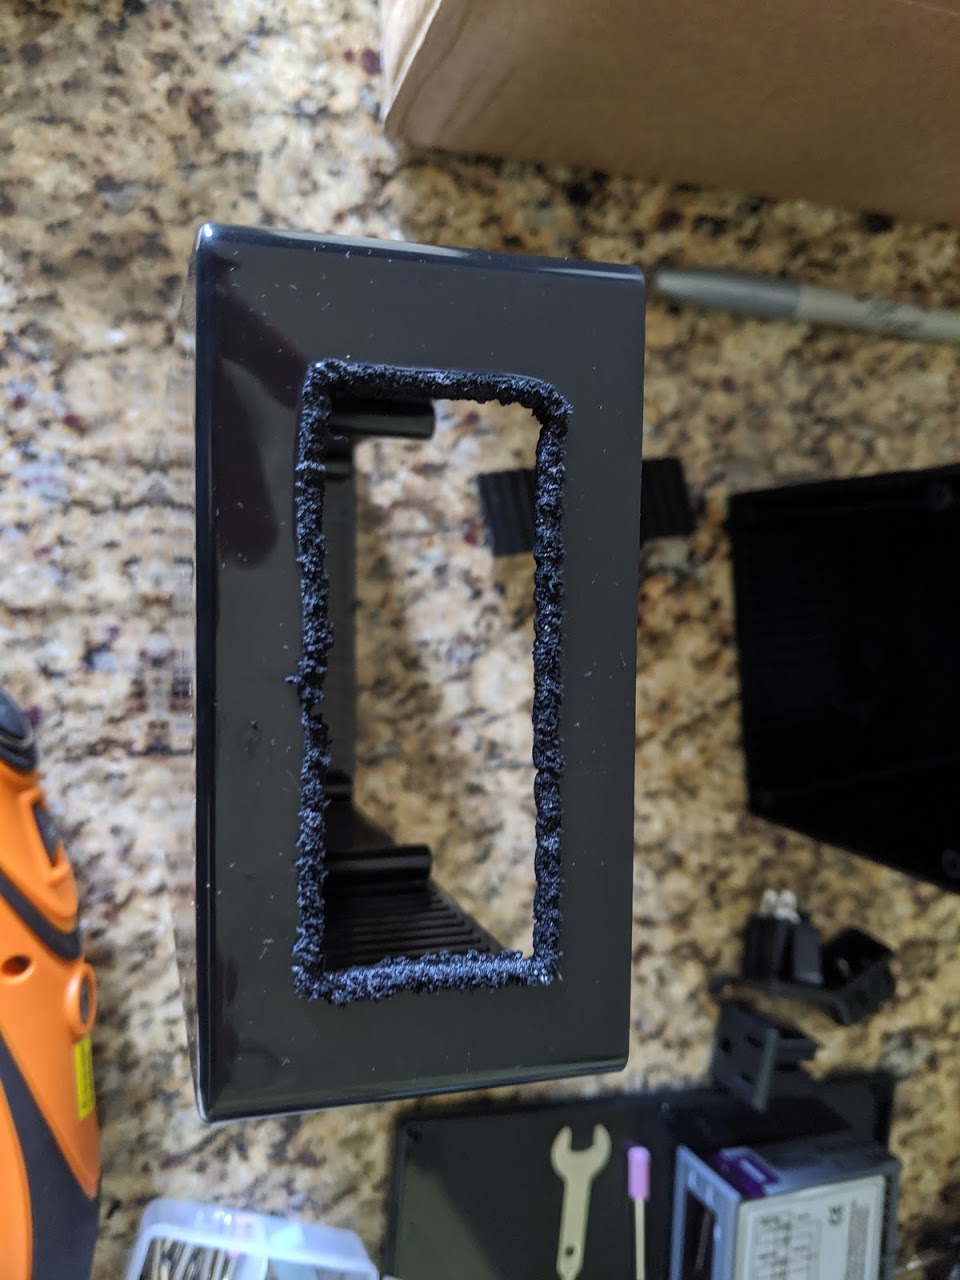
My Inkbird slot

Electrical outlets mounted
I was unable to snap the electrical outlets in, so I glued them in place using E6000. That stuff rules.
Next I needed to mount the Inkbird and wire up the outlets. I used 14g wire for this and made sure to properly ground the outlets (don’t forget to do this).
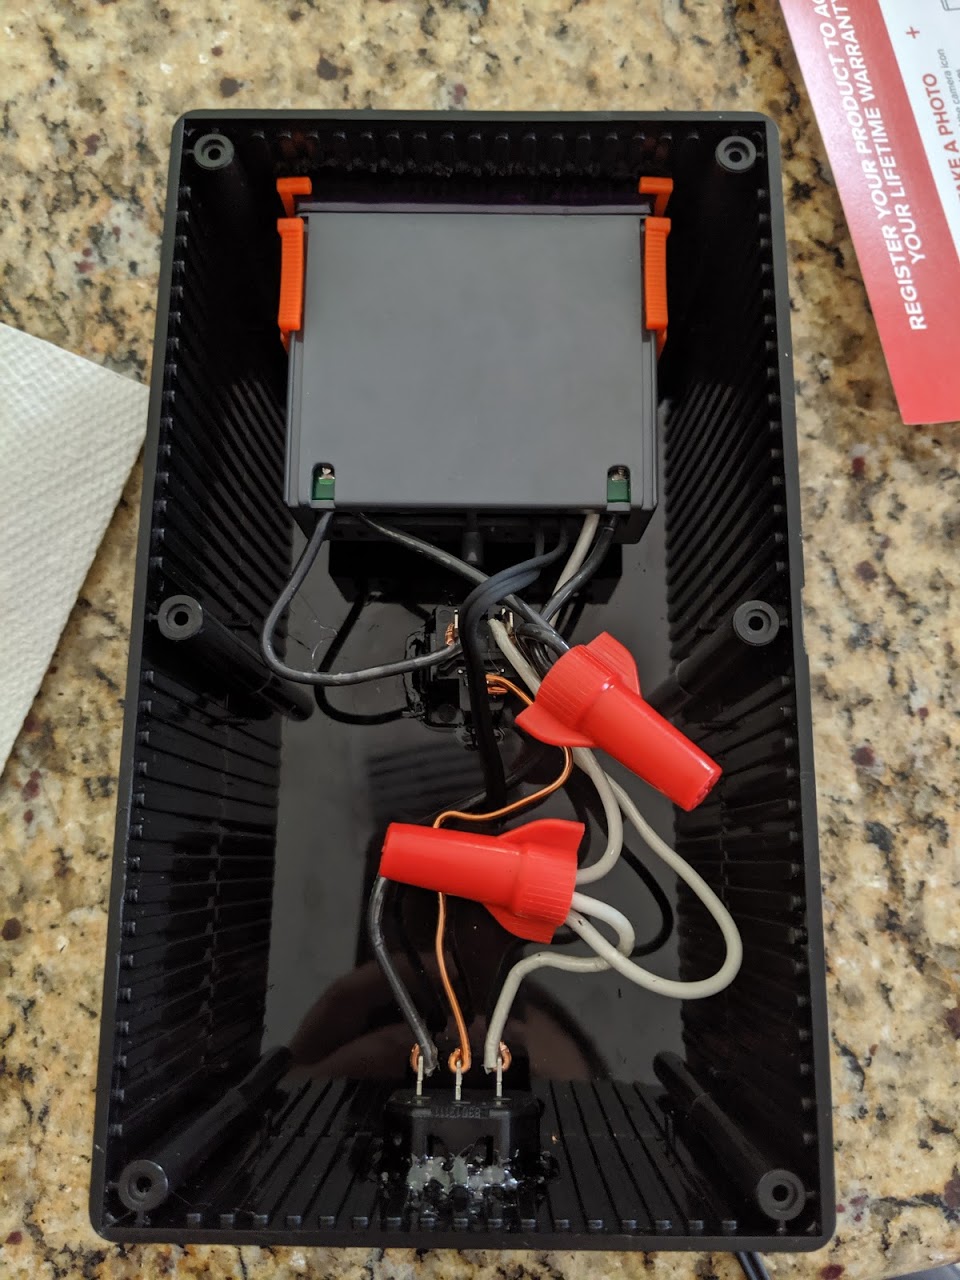
Electrical work done
I closed the whole thing up, drilled a hole for the sensor probe, plugged it in, and gave it a test!
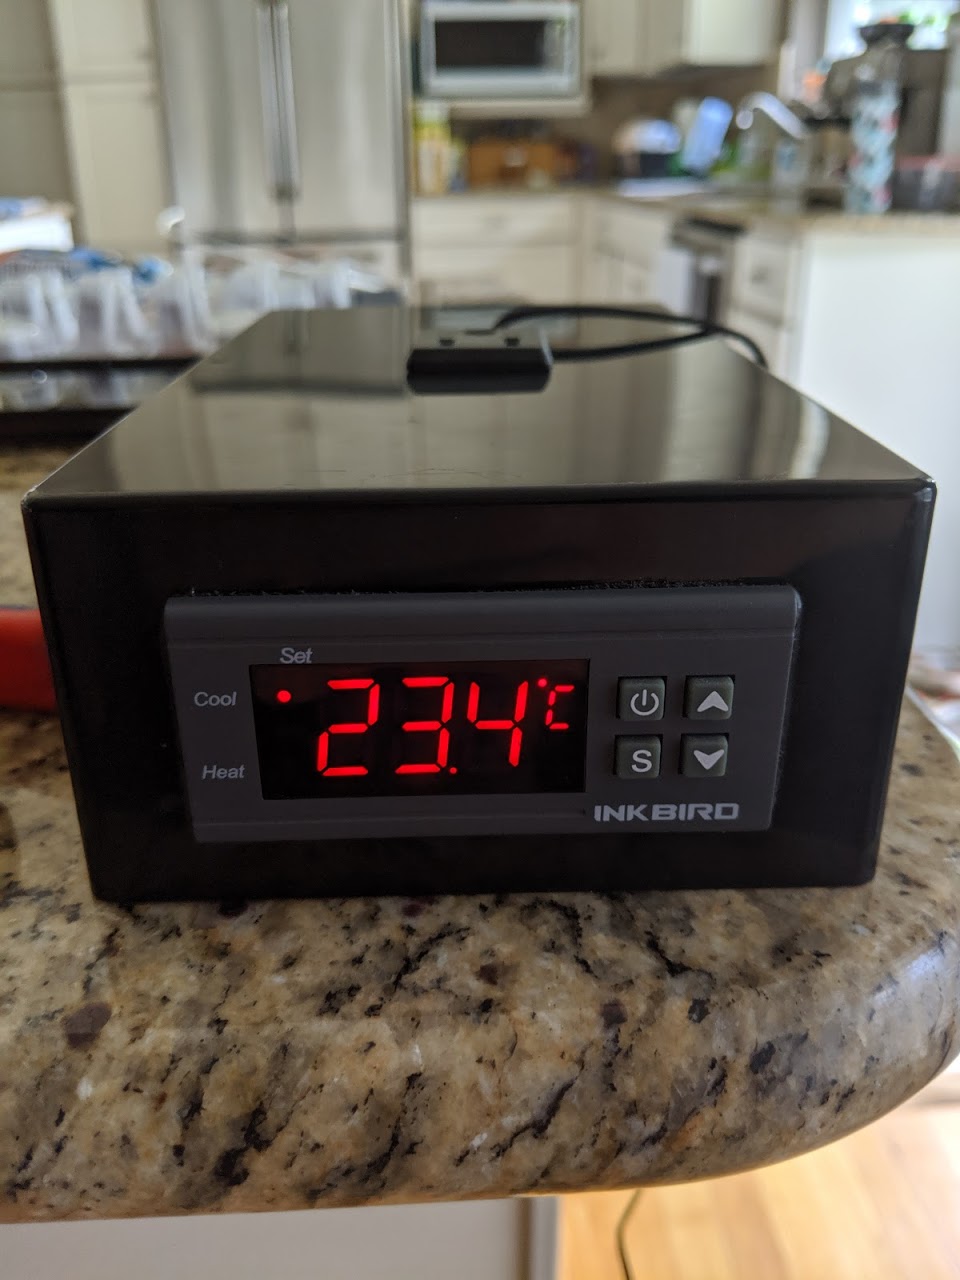
Inkbird working!
This enables me to plug the control unit into the wall, then plug the fridge into the control unit directly and fish the probe into the fridge. The power cuts on when temperatures rise and cuts off when the desired temperature is reached. Works like a charm!
Fermentation Chamber
I had to modify the fridge a little bit to allow a 5 gallon glass carboy to fit. I took out most shelves and trimmed down a few parts with a dremel.
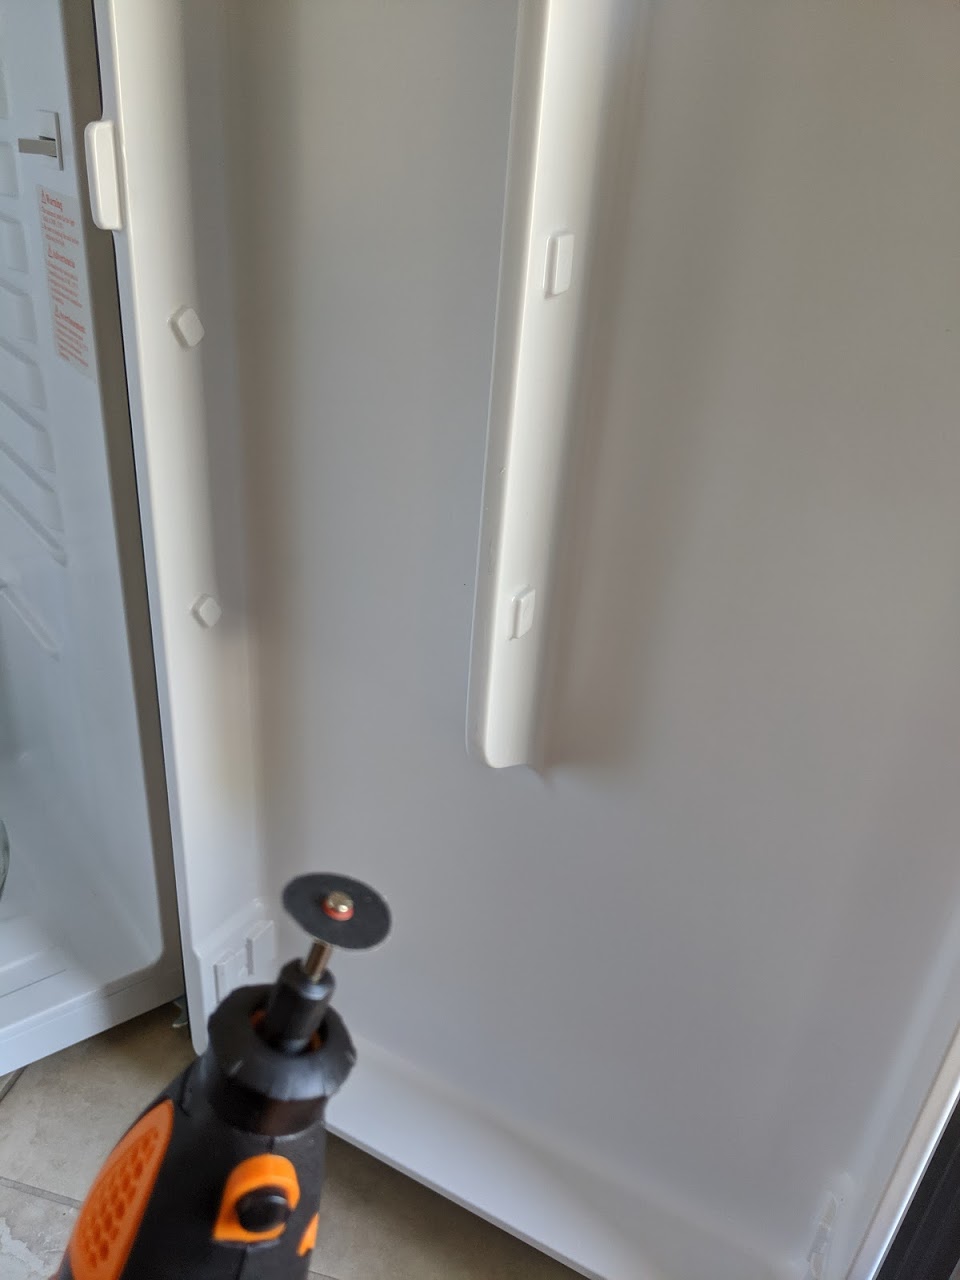
Before dremel
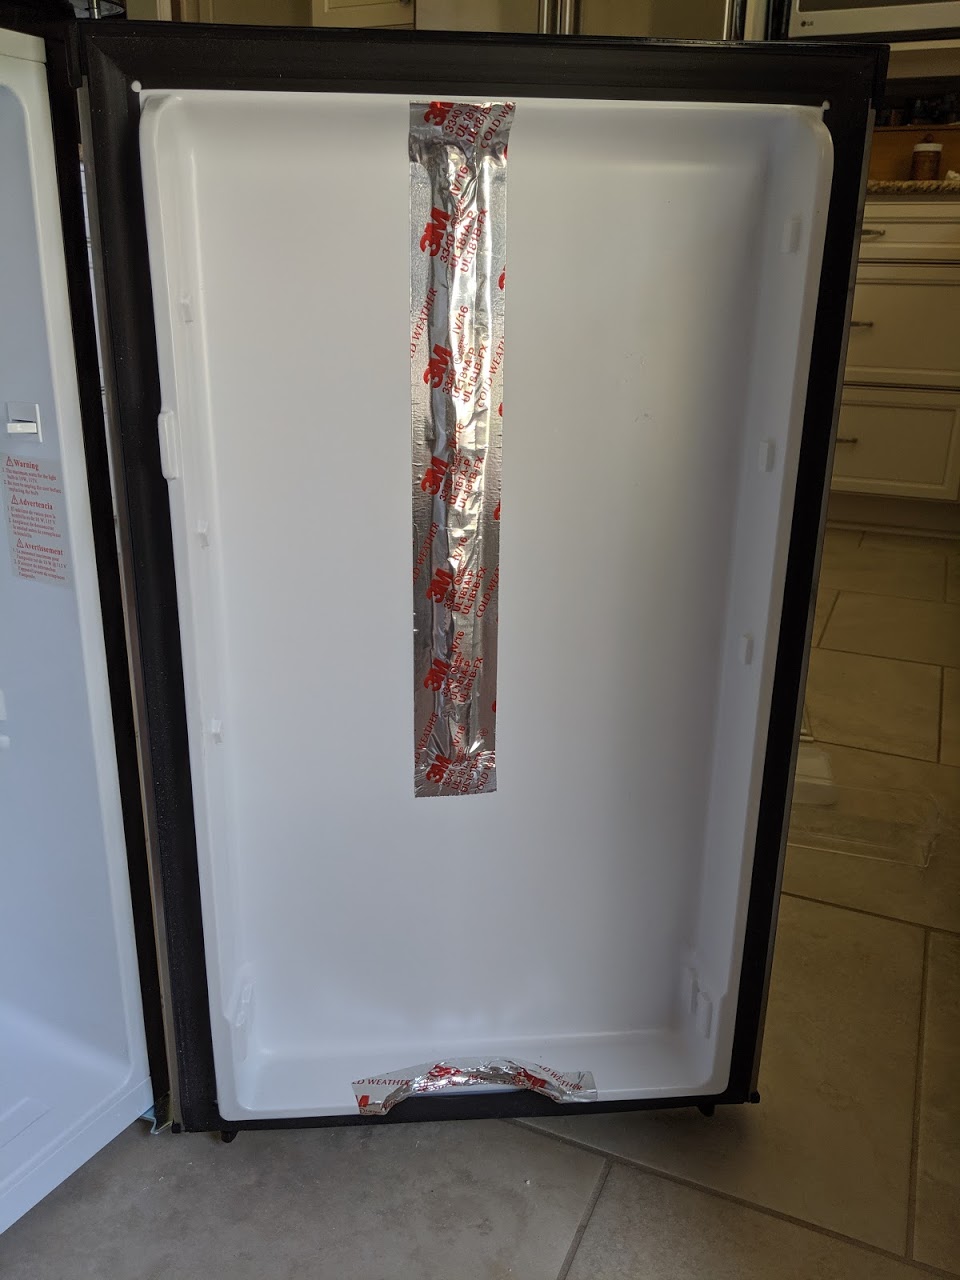
After dremel
And now my carboy fits just fine.
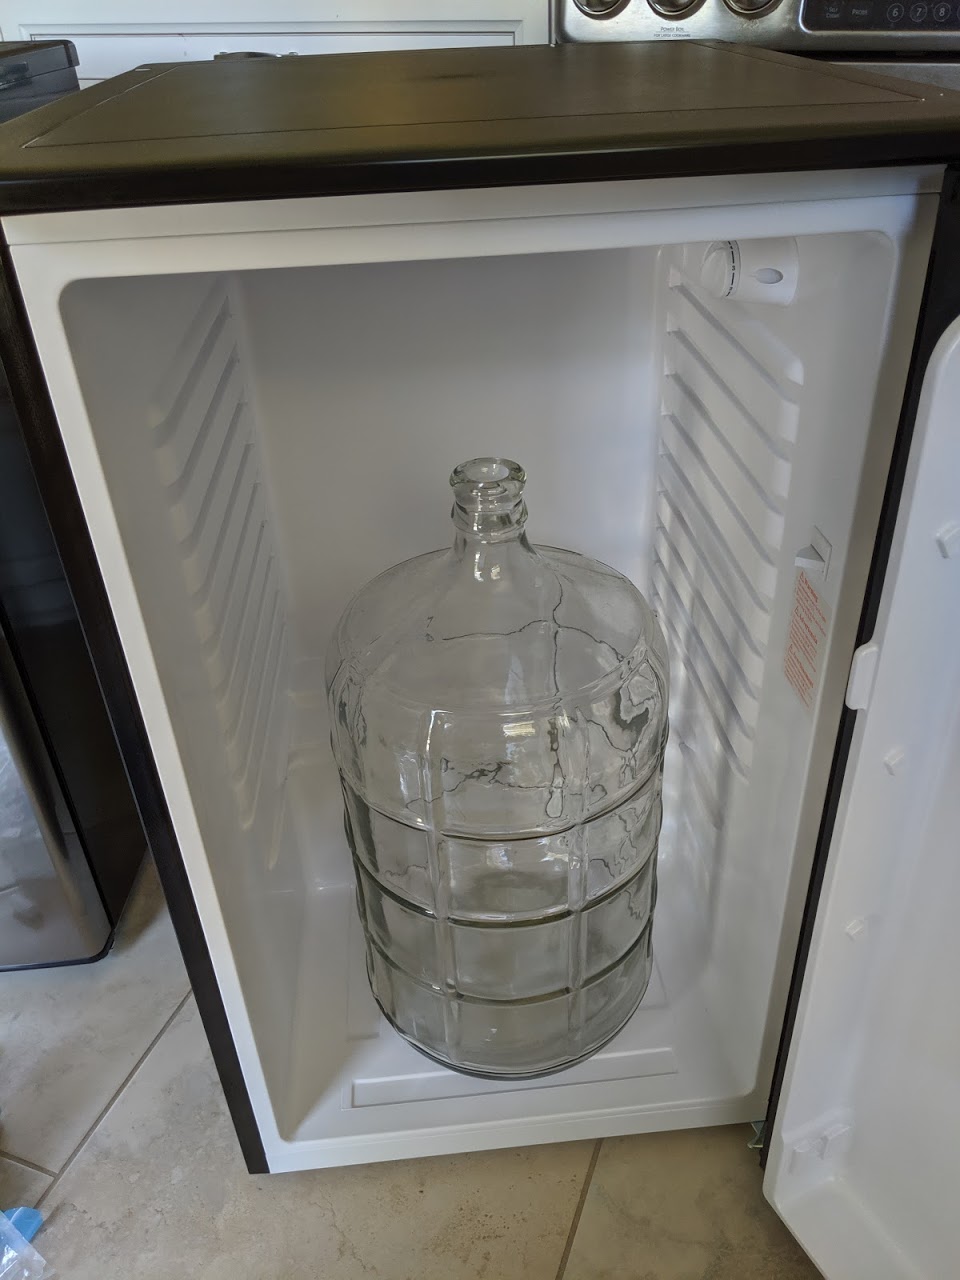
Carboy in the fridge
Kegerator
The kegerator was a little easier. I ordered a nice tower tap and got to work drilling a hole in the top of my second fridge.
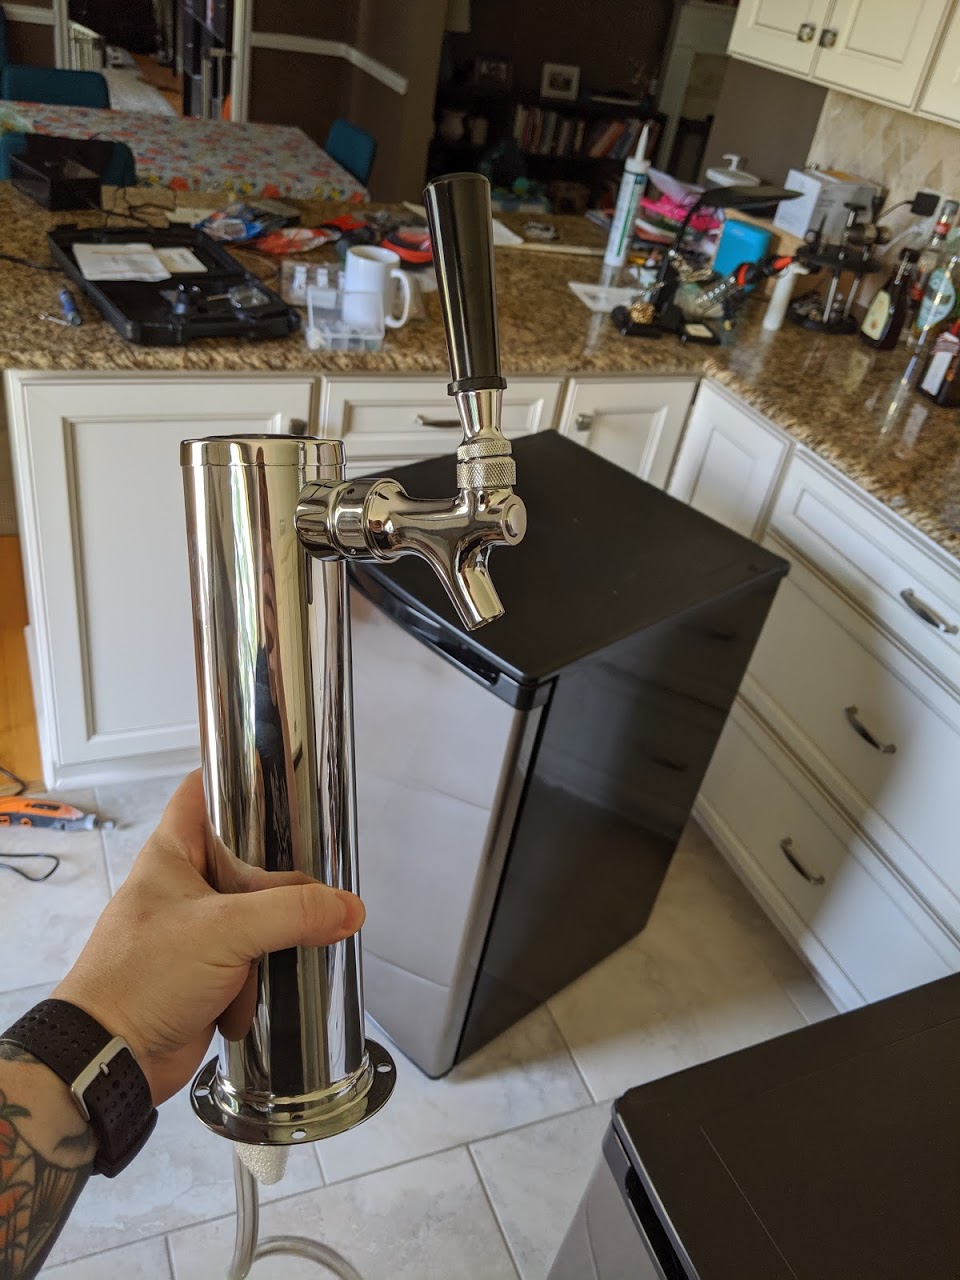
Tower tap
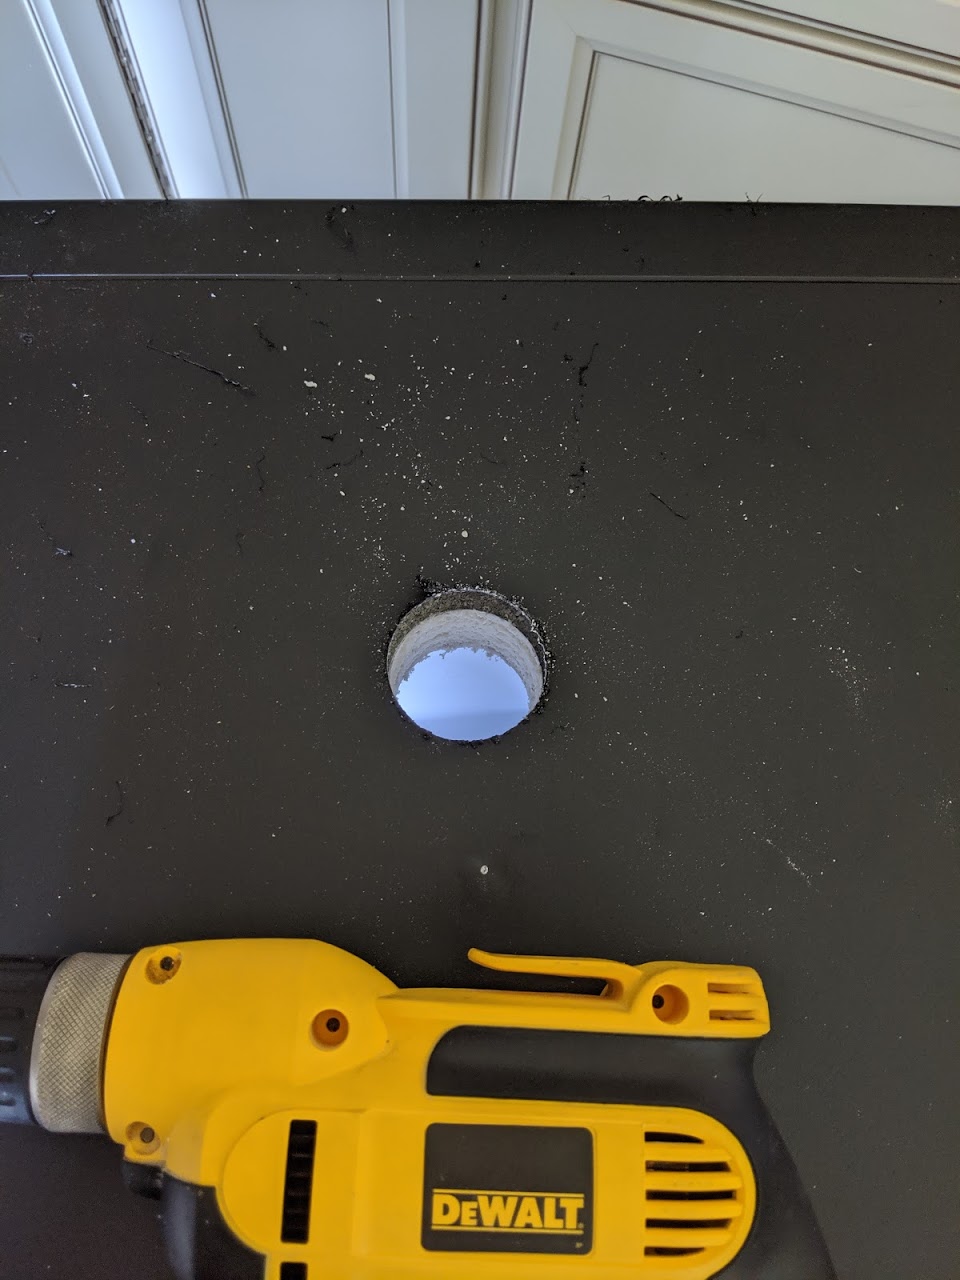
Kegerator hole drilled
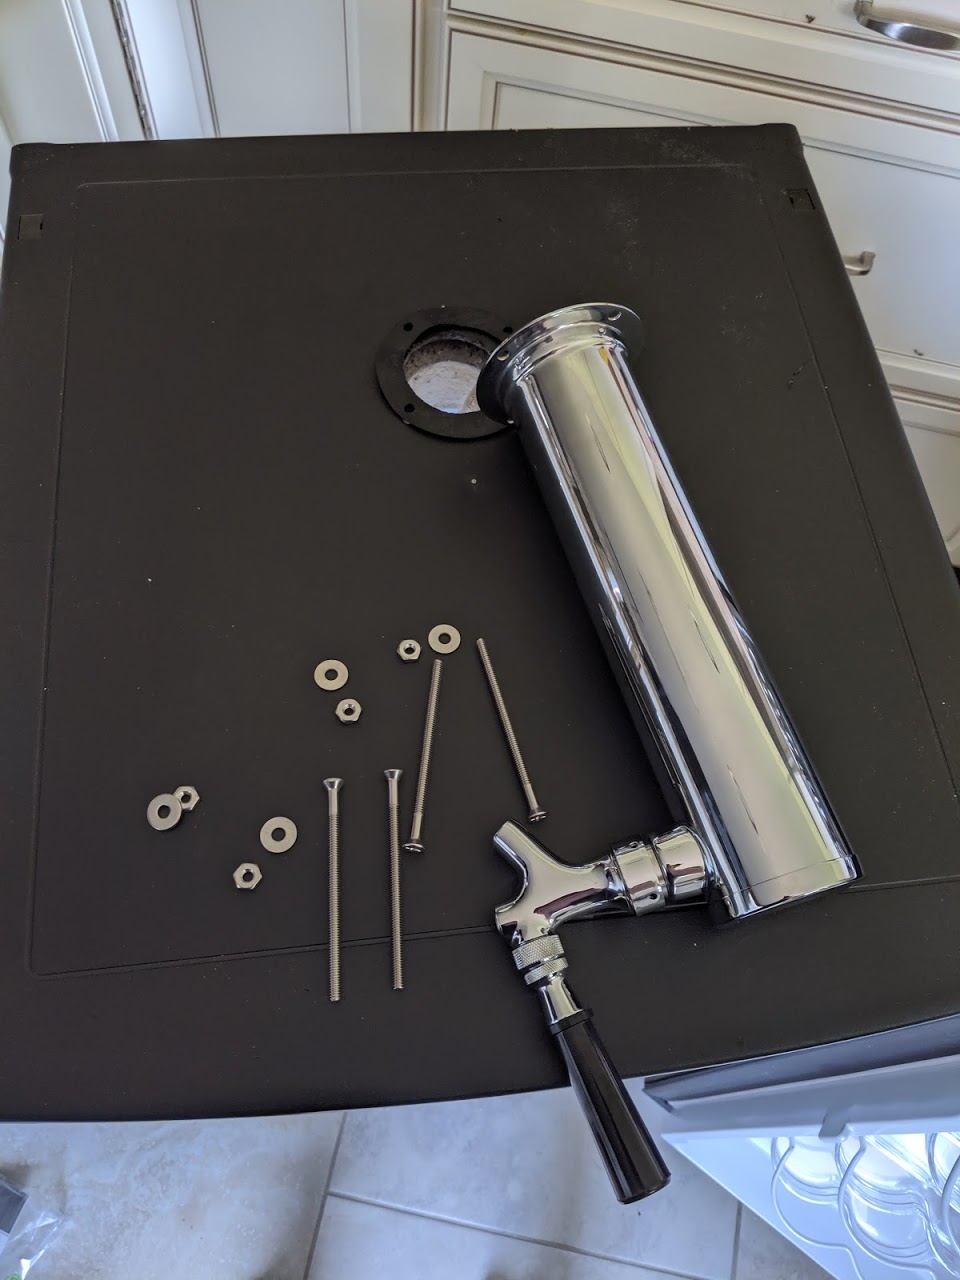
Next I mounted the tap. A good coring bit is essential.
Kegerator before

Kegerator after
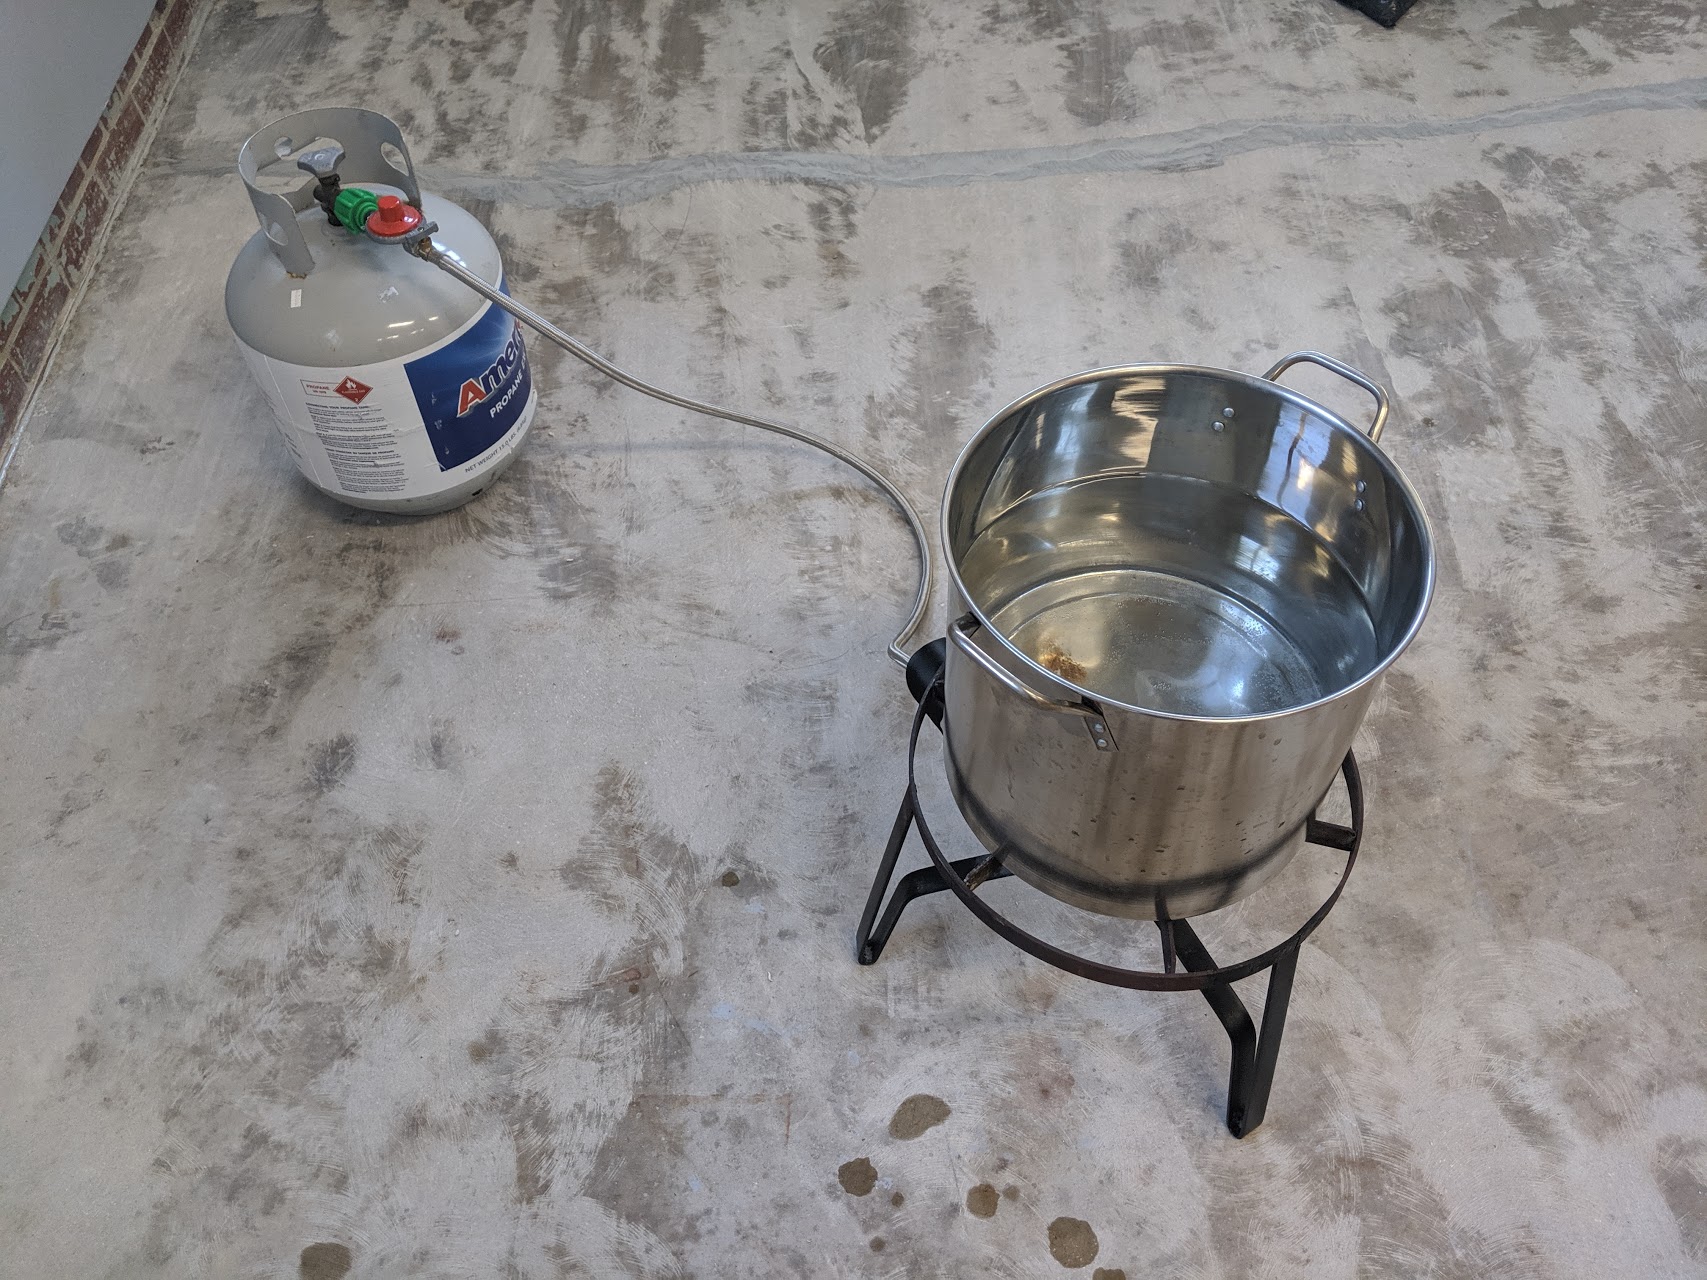
Brewing the Beer
With my kegerator and fermentation chamber done, it was time to brew a beer!
Brewing!
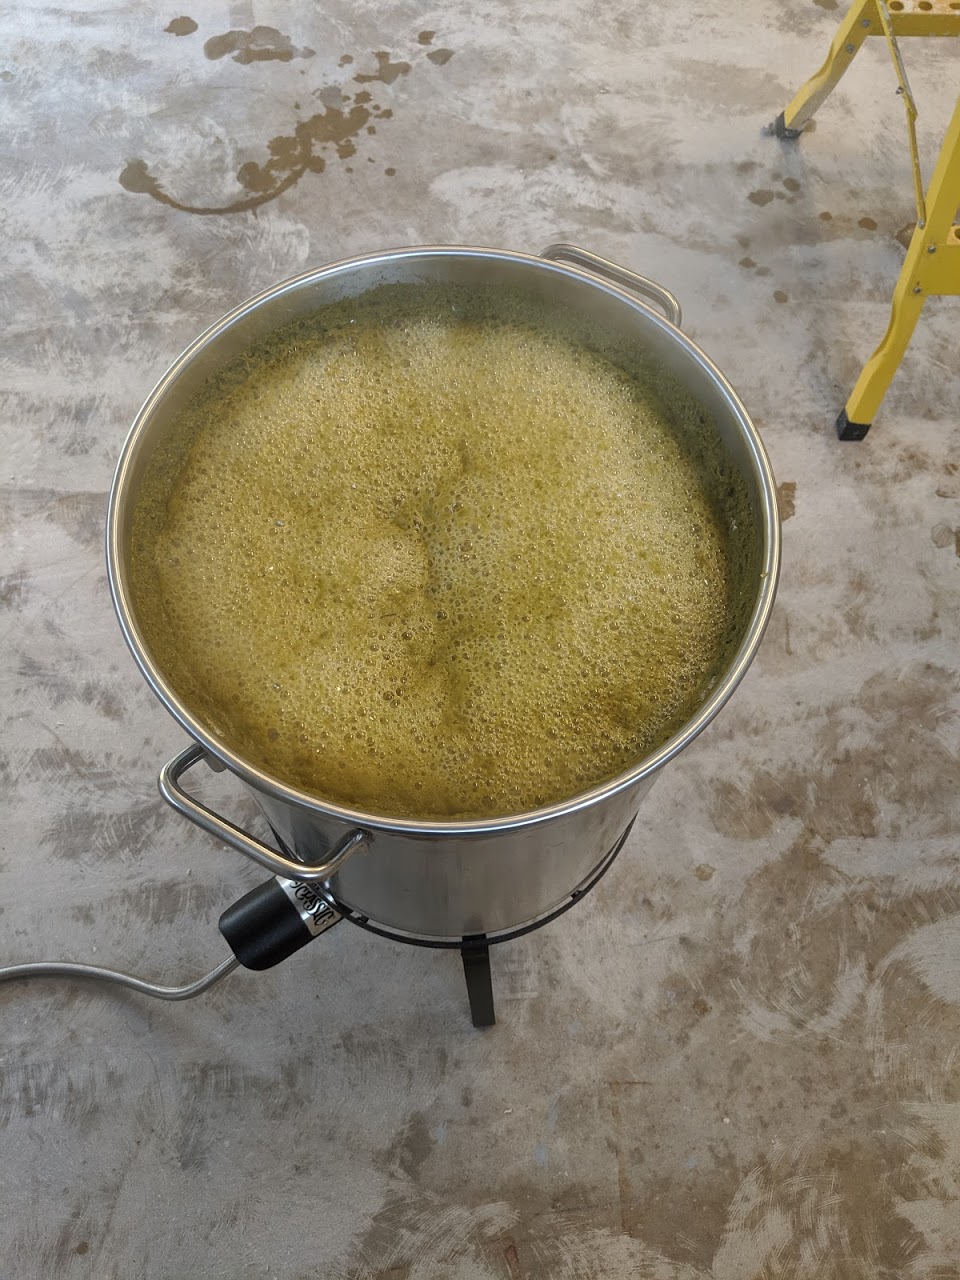
Brewing!
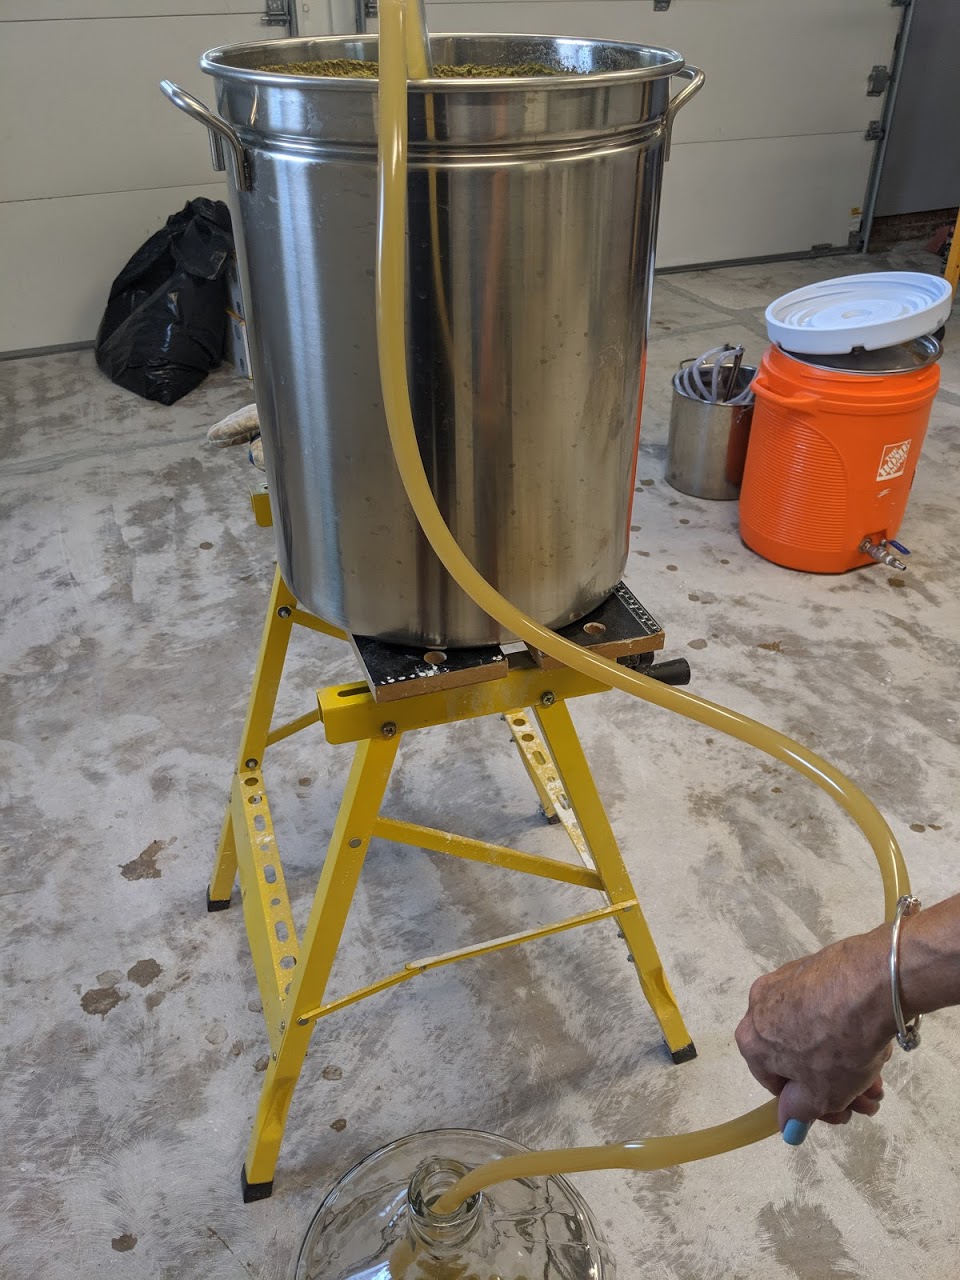
Brewing!
I made an all-grain hop-forward peach mango wheat ale.
With my yeast added (pitched) and my beer in my temperature controlled fermentation chamber, all I needed to do was sit back and let things ferment for about a week.
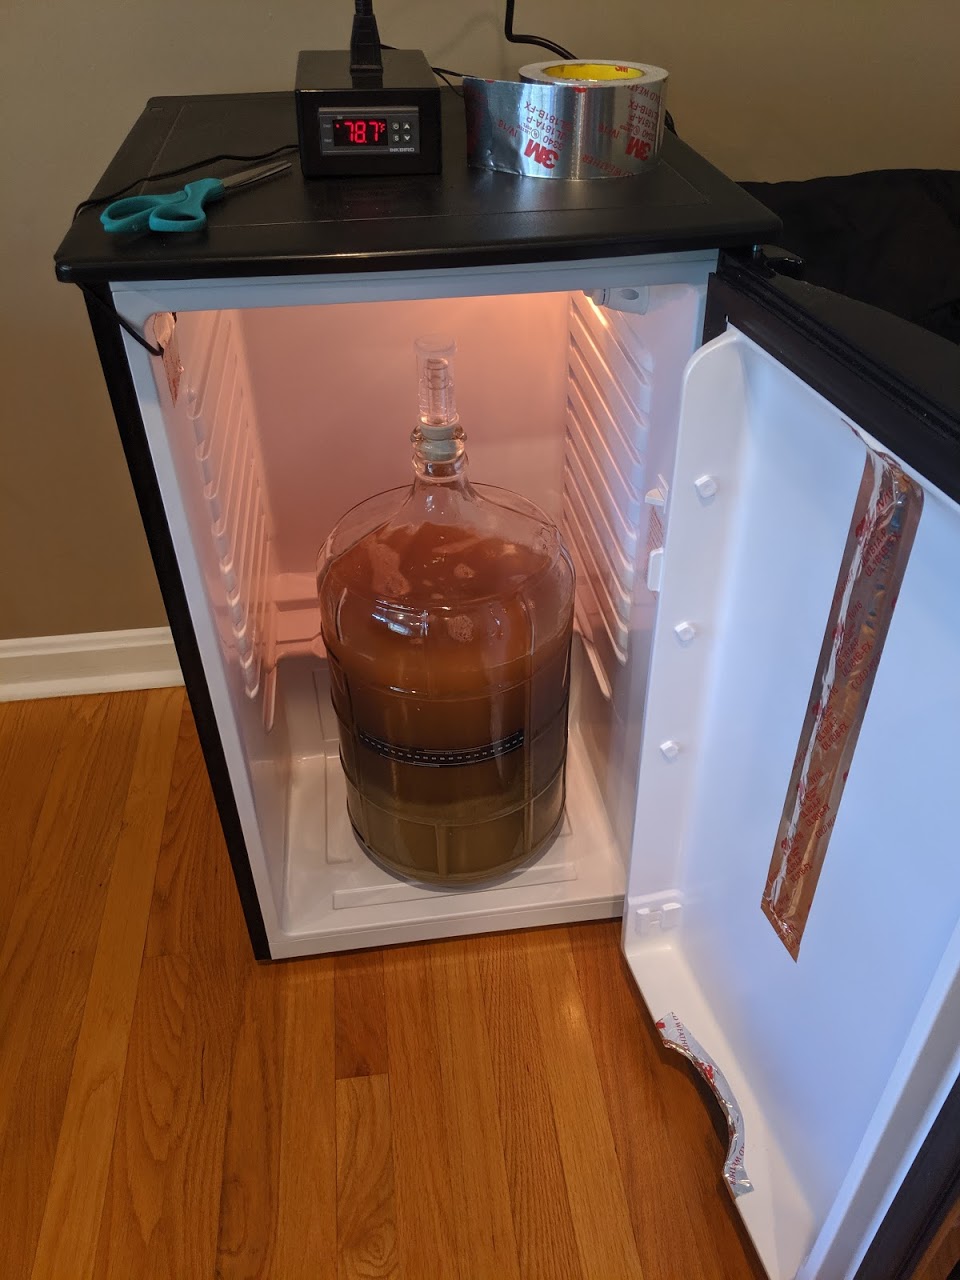
Temperature controlled
More Next Week
Tune in for next week’s update when I show you how this beer turned out, and the results of my first few cooking classes.